Last Updated on September 19, 2024 by Luke Feldbrugge
As days get longer and weather improves, we all have opportunities to enjoy the outdoors. Make sure to take advantage of this seasonal change to do a check up on the exterior of your home. Inspecting for any signs dry rot should be top of your list. Early detection is key to keeping dry rot repairs an inexpensive do it yourself project. When you know what to look for you can save time and money by stopping the rot and keeping your home investment in tip-top shape.
Identifying Dry Rot
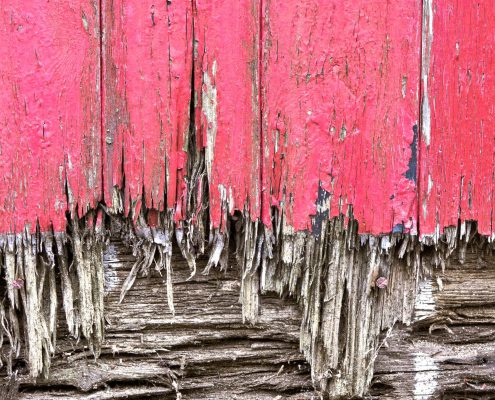
Look at any horizontal wood, like facia boards and window sills, anywhere wood meets concrete, and pay particular attention to wood joints. Look for any signs of wood rot or water damage in areas of your home where the wood looks dark – if you spot what you suspect may be water damage, you should call in the professionals, like this Oklahoma water damage restoration service, to come and take a look before the problem gets any worse. Also, check for blistering, cracking or peeling paint.
Check any exposed end grain wood which can wick moisture up from concrete. Check anywhere that wood is close to dirt or where greenery sits against the house. Fungus spores accelerate wood rot, so be on the lookout for white, gray, orange or green algae growing in these places. Test with the screwdriver. If there’s any give to the density of the wood, you’ve found rot. Use your clipboard and camera to document where you discover dry rot and estimate the extent of the damage. If you find rot, now is the time to stop it.
Structural versus Non-Structural Dry Rot Repair
Gather Your Tools and Materials

Dry Rot Damage Repair Process
Dry rot repair is a multi-step process, so start with one of the least damaged areas and complete the job start to finish to gain experience and confidence. Choose a conveniently dry period of several days and pay close attention to material instructions because drying, setting up and hardening times vary. The dry rot repair process has six steps: Remove Dry Rot, Spray Fungicide, Apply Wood Hardener, Replace Damaged Wood with Epoxy, Sand Surface Smooth, Protect with Exterior Acrylic Primer and Paint.
Remove Dry Rot
Scrape the surface, dig into the rot and keep scraping until you have removed all loosened material. It doesn’t need to be smooth, just healthy wood.
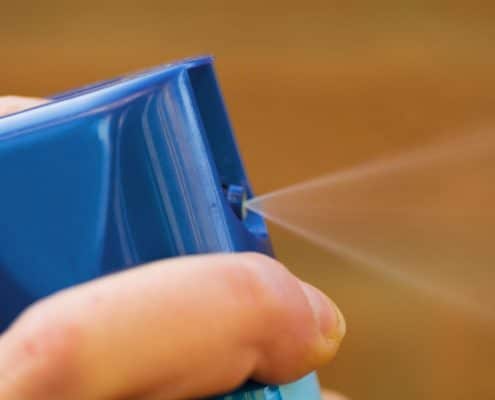
Spray Fungicide
Apply Wood Hardener
Apply wood hardener generously as this stops the dry rot. Paint all exposed wood areas an, if the area is large enough, consider drilling a small hole or two into the cavity and fill it with the liquid hardener to make sure it reaches all parts of the affected area. Follow material instructions for drying.
Replace Damaged Wood with Epoxy
Epoxy comes in two forms. For smaller areas, there is a peanut butter consistency epoxy that is smoothed on with a plastic putty knife. You will find it similar to filling holes in an interior wall for painting. For larger areas, there is a moldable epoxy putty that feels more like modeling clay. You can mold it to fill in large holes or reshape sections of trim. Follow material instructions for drying and curing time. When cured it can be sanded, drilled or fastened just like wood. With practice, you can replicate all types of wood pieces, including shaped moldings.
Sand Surface Smooth
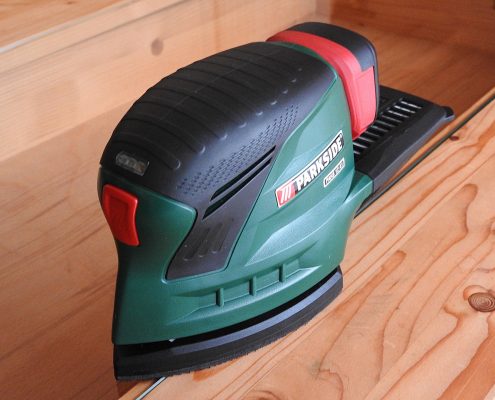
Protect with Exterior Acrylic Primer and Paint.
You are now ready to paint. Using an exterior primer and paint in one can save you time and money. Remove a paint chip from your house and have it color matched or choose a new color scheme and make this repair part of a new paint job for your home.
Dry Rot Repair – Well Done!
Once you have completed your first area, take a picture so you can compare the before and after. It’s remarkably satisfying! Now that you have some experience, you should feel comfortable doing multiple areas at once. Make a list and write down times as you go. If you lose track, just wait the full length of time required before you start the next step.
When you finish, you will have the satisfaction of knowing you’ve protected your home against further damage and increased curb appeal! Be sure to check out our local deals page to get the latest discounts that we have for you, our heroes!

